Last updated November 18, 2026



Free written scope consultation - allowances, timeline, and change-order rules on paper before a single trade is scheduled
Driveway & Pavers Troubleshooting in Santa Clara: Common Problems and How to Fix Them
If you’ve re-sanded the same section of pavers twice already, you’re not fixing the problem – you’re rescheduling it. That’s the uncomfortable truth about most driveway paver troubleshooting in Santa Clara. Homeowners see rocking stones or a sunken strip, spread fresh joint sand, and call it done. Two winters later the same stones are loose and the weeds are back. The surface is telling you something the base already knows. Every visible paver problem traces back to one of three root causes: base failure, edge restraint failure, or poor original installation. This guide teaches you to read which one you’re looking at before you spend a dollar, and what the honest fix actually is.
Quick Answer
Most driveway paver problems in Santa Clara come down to base failure, edge restraint failure, or a flawed original install, not the pavers themselves. Rocking, sunken sections, and weed invasion are symptoms of those root causes. A spot repair works only when the base beneath the affected area is stable; otherwise a partial or full base rebuild is the only fix that lasts. Diagnosing the cause first prevents the same repair from failing within two seasons.
Styles & brands we work with
- Kitchen remodeling
- Bathroom remodeling
- Home additions & ADU
- Roofing
- Windows & doors
- Driveway & pavers
- Fence
Table of Contents
- How to Read the Pattern of Movement
- The Three Root Causes Behind Every Paver Problem
- Edge Restraint Failure: The Most Missed Diagnosis
- Why Weeds in the Joints Are Usually a Drainage Problem
- Tree Root Intrusion in Older Santa Clara Neighborhoods
- Spot Repair vs. Base Rebuild: Which Is Honest
- Pressure-Washing, Re-Sanding, and Sealing Done Right
- What Paver Repairs Cost in Santa Clara
How to Read the Pattern of Movement
A contractor doesn’t start by looking at individual stones. We look at the shape the movement makes across the whole driveway. The pattern tells you where the failure lives. Isolated loose stones in a cluster point to something local under that spot. A long strip of settlement running parallel to the garage or the street speaks to the base or the edge. A broad dip across the middle of the drive suggests the subgrade was never compacted properly to begin with.
Walk your driveway and note three things: where the movement is, what shape it makes, and whether it repeats in a straight line. Straight-line movement almost always means an edge or a joint issue rather than random base failure. Scattered, bowl-shaped dips in the interior mean the base layer itself failed. Cracking pavers along a curve or turn point to traffic loading on a base that wasn’t built for it.
Our technicians have up to 13 years of experience reading these patterns, and the rule of thumb holds up: the shape of the movement is the diagnosis. Once you know whether the problem is at the edge, in the base, or in the original install, the repair strategy follows directly. Skip that step and you’ll keep patching the symptom.
The Three Root Causes Behind Every Paver Problem
Every visible driveway paver problem in Santa Clara traces back to one of three root causes. Being able to tell them apart is the whole skill.
- Base failure. The compacted aggregate layer under the pavers has lost its structural integrity. This shows up as interior settlement, bowl-shaped dips, or pavers that rock across a wide area. It usually stems from inadequate compaction, wrong aggregate gradation, or soil that wasn’t prepped for the load.
- Edge restraint failure. The border that locks the field in place has moved, broken, or never been deep enough. The tell is a spreading pattern starting at the driveway’s outer edge and working inward, often with pavers pushing outward and joints widening near the border.
- Poor original installation. The pattern of failure is broad and consistent from the start – too little base, missing geotextile, wrong sand, no proper compaction. The pavers themselves may be perfectly good; the layers beneath were the problem.
Santa Clara’s mild climate helps us here. Without hard freezes to blame, when a paver driveway fails, it’s almost always one of these three construction issues rather than weather damage. That makes diagnosis easier and repairs more predictable. It also means the fix has to address the actual cause, because nothing about the weather is going to “reset” the problem for you.
Edge Restraint Failure: The Most Missed Diagnosis
Edge restraint is the most frequently missed cause of paver driveway problems. That thin border holding the entire field in compression can move just an inch and the whole pattern starts to spread. Pavers shift outward, joints widen along the edges, and base material works its way up through the opened gaps. The pavers become the symptom while the restraint is the cause.
Check the edge by walking the perimeter of your drive and looking for three signs:
- Restraint that leans or lifts. If the border lifts off the surface or tilts away from the field, it’s no longer holding the pavers in compression.
- Gaps opening along the perimeter. A widening joint between the pavers and the edge restraint is the first visible failure.
- Cracking in the restraint itself. Concrete or plastic edge units that have cracked lose their function even if they look mostly in place.
Replacing or re-setting edge restraint is one of the most cost-effective paver repairs there is, provided the base beneath is still sound. Left alone, edge failure transfers load into the base and turns a small border fix into a much larger rebuild. Fixing the edge early is the cheapest paver repair you’ll ever do.
Why Weeds in the Joints Are Usually a Drainage Problem
Weeds growing in paver joints are usually a drainage problem, not a maintenance problem. When water can’t drain off the surface or percolate through the joints at the right rate, it pools in the low spots, and moisture-loving weeds are the first thing to colonize those areas. Pull the weeds and re-sand, and you’ve done nothing about the water still sitting in the joint.
Where the water goes is the real question. Pavers are designed to shed water off the surface at a slight grade while the joint sand lets some percolate through to the base. When the grade has been lost due to settlement, when joint sand has eroded to where it can’t do its job, or when the base beneath lacks proper drainage, water hangs around. That’s when joint weeds become chronic.
Look for weeds in specific low spots rather than scattered across the entire drive. Weeds concentrated in low areas point to grade loss or a drainage problem in the base. Weeds spread across the whole driveway with new ones appearing in fresh spots are more likely organic material blown in and finding eroded joint sand. The two point to very different repairs, and treating them the same is where homeowners lose money.
Tree Root Intrusion in Older Santa Clara Neighborhoods
Tree root intrusion is a hidden culprit we see often in Santa Clara’s older residential areas, where mature street trees and landscape trees sit close to driveways that were laid decades ago. Root intrusion shows up as pavers heaving upward in a curved or snaking pattern, sometimes lifting an entire strip while the rest of the drive stays flat. Unlike settlement, which pushes down, roots push up, and that asymmetry is the tell.
Signs that roots are the real problem beneath your paver issues:
- Pavers lifting rather than sinking in a curved or irregular line.
- Heaving concentrated along one edge, often the edge nearest a mature tree.
- Movement that returns after a repair on the same span, because the root kept growing.
- Cracks in pavers along the line of lift, where the pavers are being bent by upward pressure.
Handling root intrusion responsibly means addressing the root, not just re-setting the pavers on top of it. Sometimes a root barrier along the driveway edge is the answer; sometimes a mature tree needs to be evaluated by an arborist before anything else. Re-setting pavers over an active root means you’ll be doing it again. This is one of the few paver repairs where coordinating with another trade improves the result, and a contractor who handles the full exterior can bring that coordination into one plan rather than two separate contractors.
Spot Repair vs. Base Rebuild: Which Is Honest
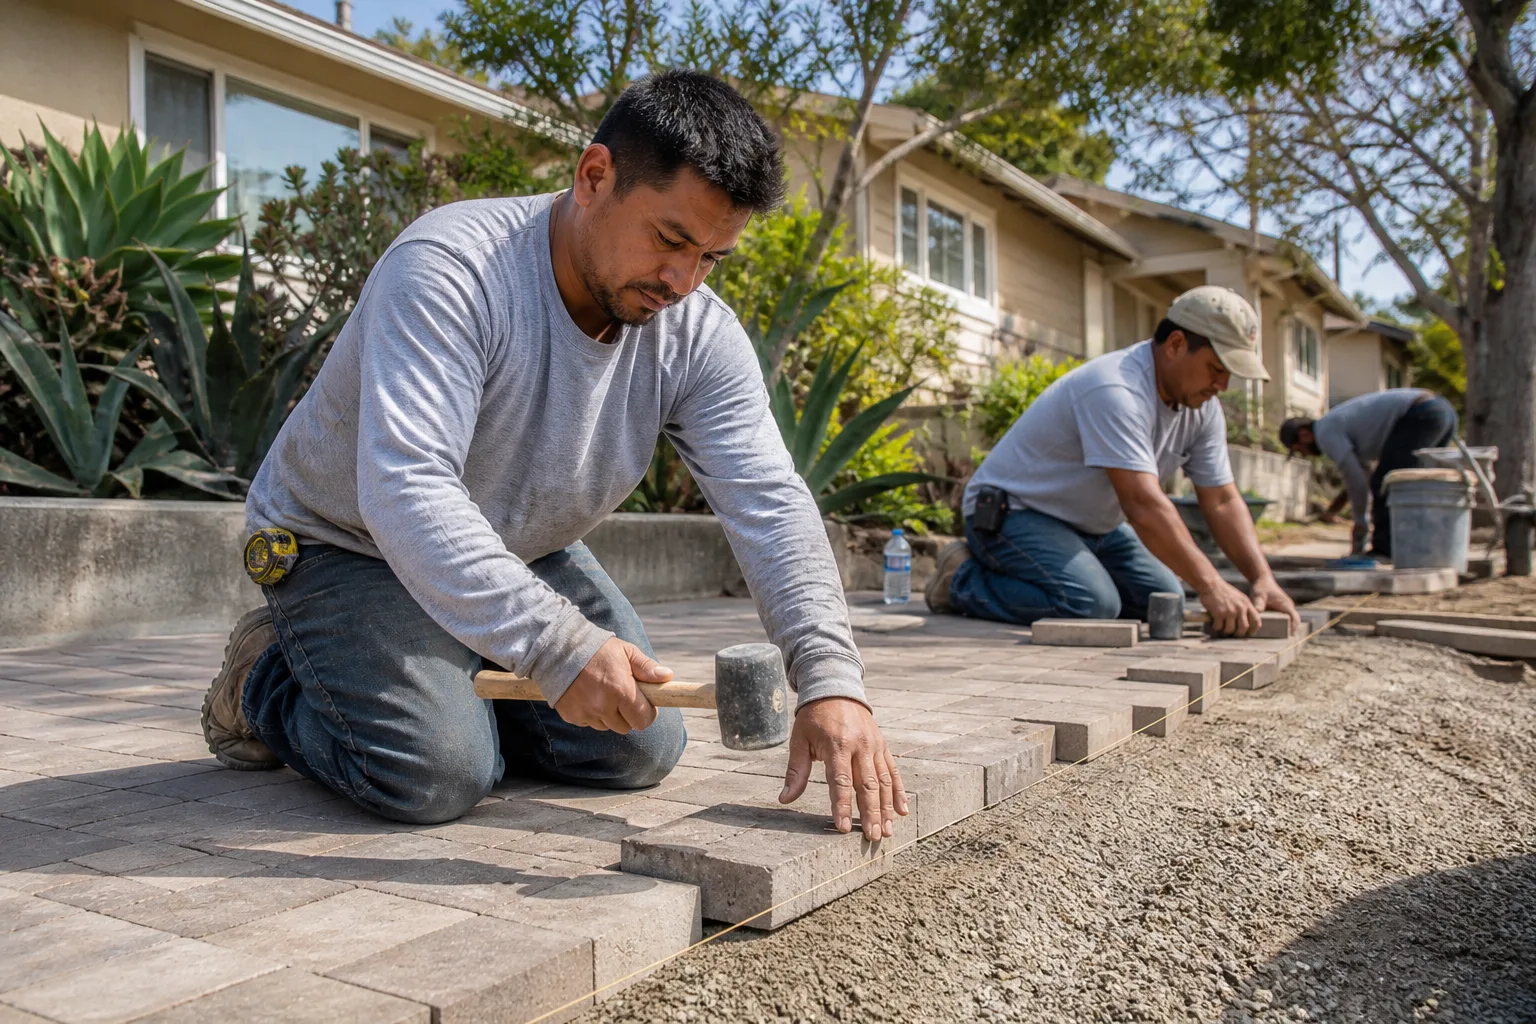
A spot repair is structurally sound when the base beneath the affected area is stable and the movement is local. Lift the affected pavers, re-compact the base, reset the pavers, and re-sand. That fix holds when the failure is small, isolated, and doesn’t repeat. The repair is honest because the base doesn’t need replacing.
A partial or full base rebuild is the honest fix when the pattern of failure covers a wide area, when settlement is bowl-shaped and interior, or when the same section has failed twice already. In those cases the base beneath is compromised and any repair on top of it will fail again. Rebuilding means removing the pavers, excavating down to subgrade, re-compacting the base in lifts, and re-laying the surface. It’s more work, but it’s the only fix that doesn’t reschedule the problem.
How to know which you’re dealing with:
- Map the failure. Mark the affected pavers with chalk and measure the extent of the movement.
- Check the base under one lifted paver. If the base material is loose, wet, or inconsistent, the base is the problem.
- Look at history. If you’ve repaired the same section before, the base is not stable and a rebuild is the honest call.
- Check the edges. If the edge restraint failed, address that alongside the base repair, because edge failure drives internal movement.
We’d rather tell a homeowner the harder truth up front than sell a spot repair that comes back. That’s part of the reason we carry deep material relationships – the paver lines we work with, such as Belgard, Unilock, Techo-Bloc, and Cambridge, hold documented load and weather ratings, so a rebuild is done right with material the base was designed for.
Pressure-Washing, Re-Sanding, and Sealing Done Right
Pressure-washing, re-sanding, and sealing is the maintenance trio that keeps a paver driveway looking and performing like new. Done wrong, it’s also the routine that erodes joint sand faster than the weather does. The three jobs have to be sequenced correctly and pressure has to be controlled, or you’ll spend money undoing your own work.
- Pressure-wash at the right pressure. Use a wide fan tip and moderate pressure. Too much concentrates force on the joint sand and blows it out, defeating the point of the job. Clean the surface, don’t dig into the joints.
- Let it dry completely. Joint sand adheres better to a dry surface. Give the driveway time to dry before you go near it with fresh sand.
- Re-sand with the correct joint sand. Standard sand for standard joints, polymeric sand where the joint width and drainage conditions call for it. Fill the joints fully, sweep in, and compact.
- Seal only after the sand has settled. Sealing too fast traps moisture and can leave a cloudy finish. Seal for the right reason – protecting the joint sand and locking in color – not as a substitute for proper base repair.
On material warranties specifically: pressure-washing too aggressively or applying certain chemical sealers can void the manufacturer’s finish warranty on engineered lines. If your pavers are from a manufacturer with a documented warranty, check the maintenance guidance before you wash, seal, or treat the surface. That’s a five-minute check that protects the investment.
What Paver Repairs Cost in Santa Clara
Costs for driveway paver troubleshooting in Santa Clara depend on which of the three root causes you’re facing. Spot repairs are the lowest cost because they touch the smallest area. Edge restraint work is mid-range. Base rebuilds cost more because they involve excavation, re-compaction, and re-laying. The written estimate sets the final price for your specific job.
| Repair Type | Typical Range |
|---|---|
| Spot re-set of loose or rocking pavers | Per job by estimate |
| Edge restraint repair or replacement | Per job by estimate |
| Partial base rebuild | Per job by estimate |
| Full base rebuild with re-lay | Per job by estimate |
| Pressure-wash, re-sand, and seal | Per job by estimate |
We price per job, not per hour, so you know what the repair costs before work begins. A written line-item estimate spells out the scope – what’s being lifted, what’s being rebuilt, what material is going back down – and that estimate is free. For a look at what a new installation or full-scope project involves, see our page on driveway & pavers.
Common Mistakes to Avoid
- Re-sanding without diagnosing the base. Re-sanding over a failed base does nothing to fix the cause and the sand washes out again within a season or two.
- Pulling weeds and calling it done. Weeds in the joints point to grade or drainage, so pulling them treats the symptom and leaves the water problem in place.
- Ignoring edge restraint. The edge holds the field in compression, and skipping it turns a small fix into a base rebuild as the pavers spread outward.
- Pressure-washing too aggressively. High pressure blasts joint sand out of the joints, and if your pavers carry a manufacturer’s warranty, aggressive washing can void it.
- Re-setting pavers over an active tree root. The root keeps growing and lifts the pavers again, so handle the root or the repair returns.
- Buying a spot repair for a base problem. If the same section has failed twice, the honest fix is a base rebuild, not another patch.
- Sealing a wet surface. Sealing before the surface and sand have settled traps moisture, leaves a cloudy finish, and shortens the life of the joint sand.
See the difference
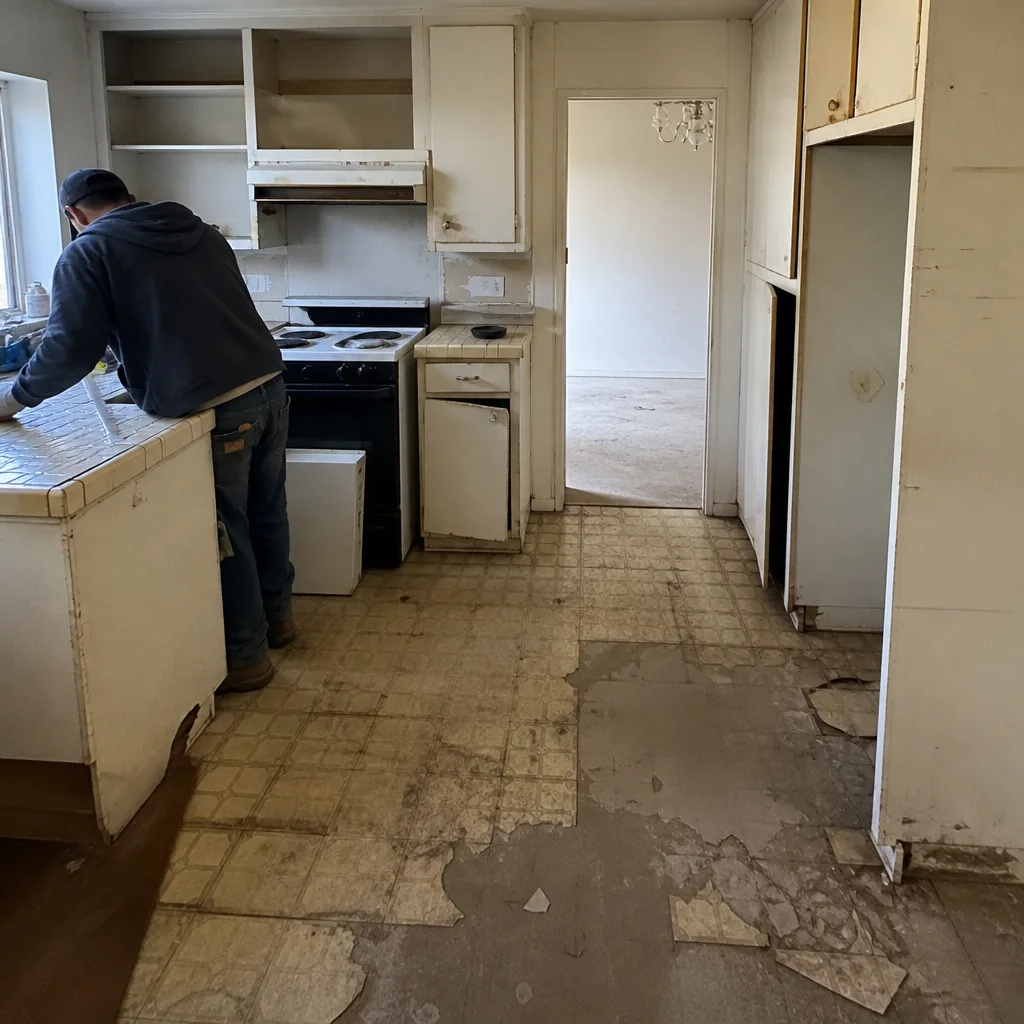 Before
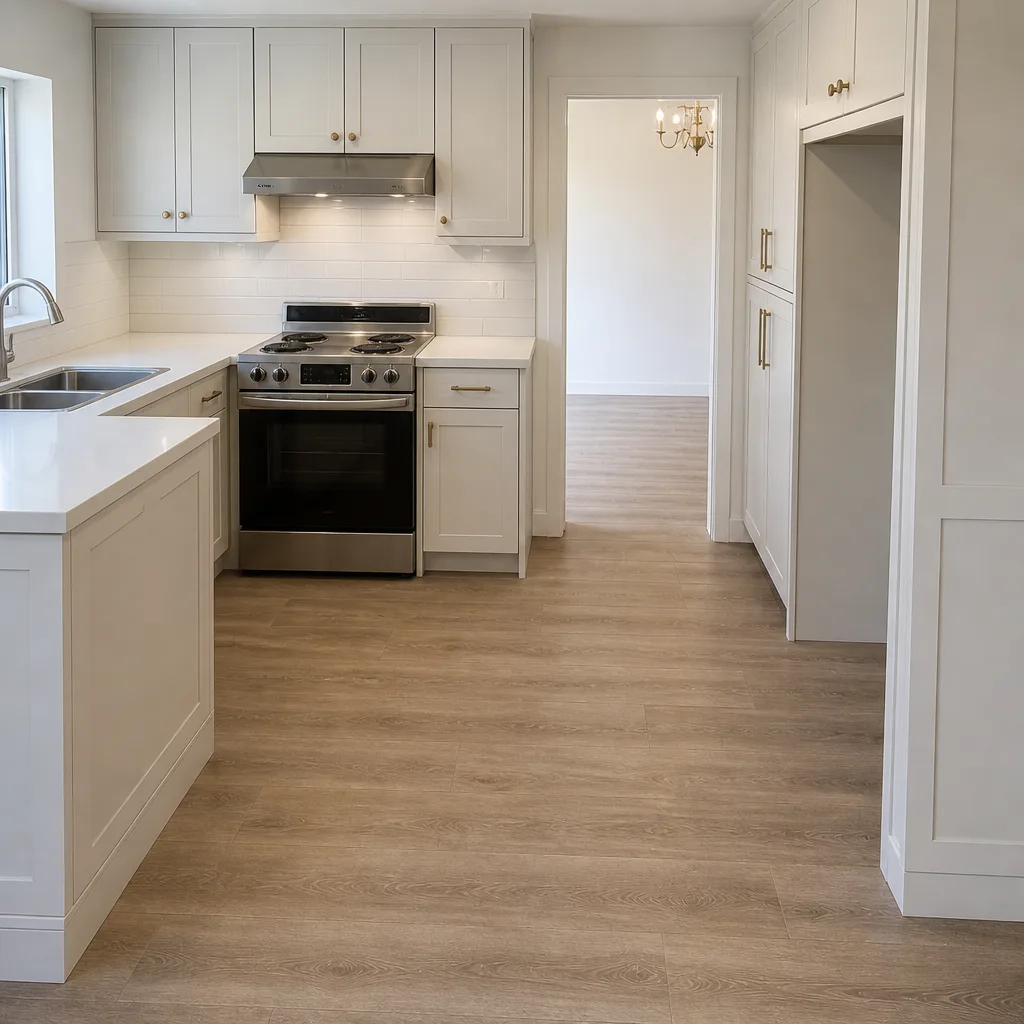 After
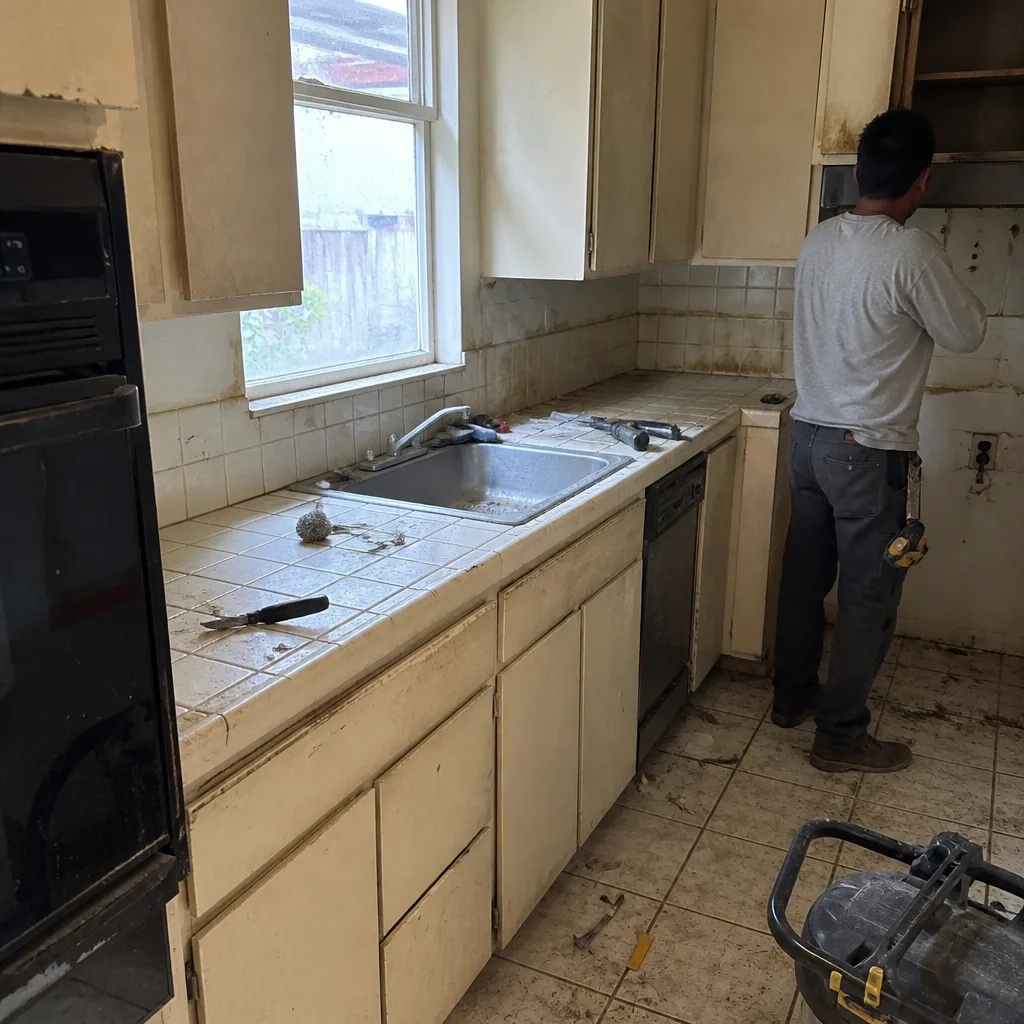 Before
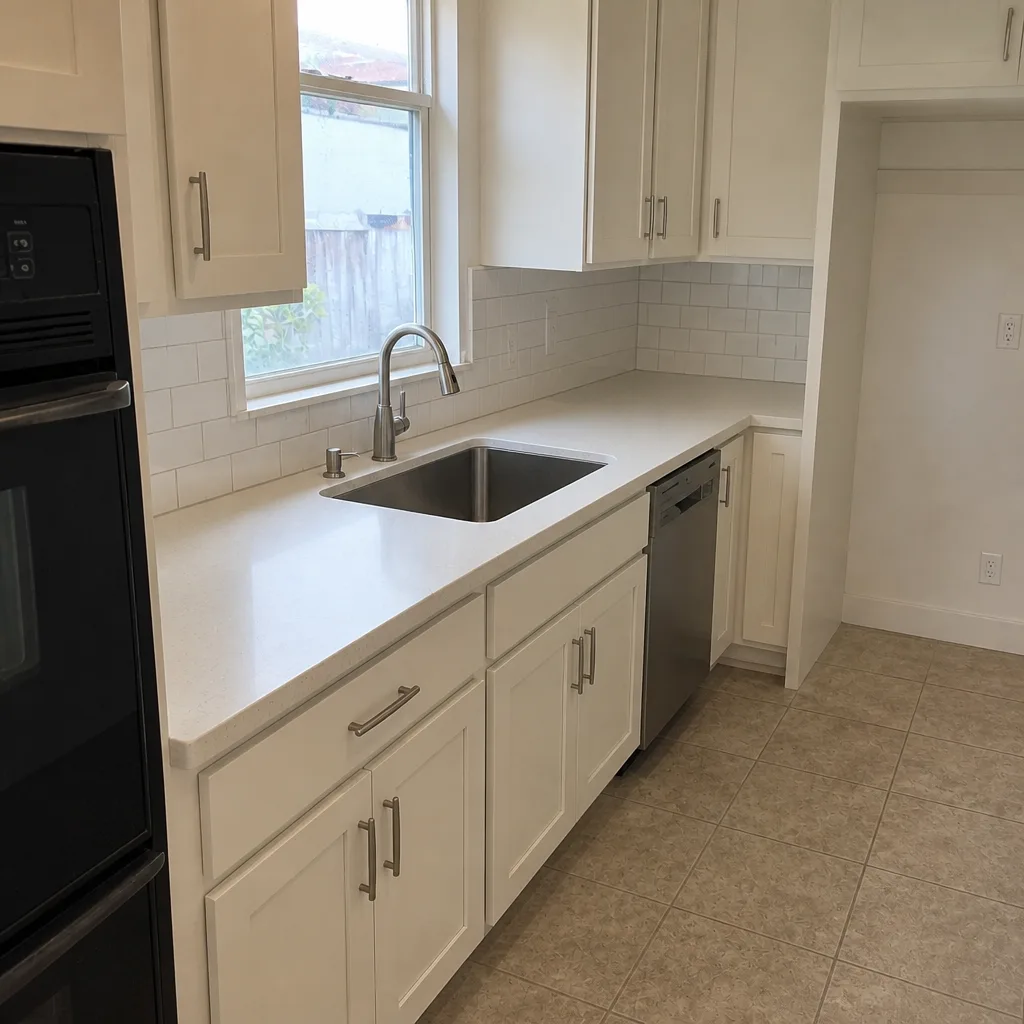 After
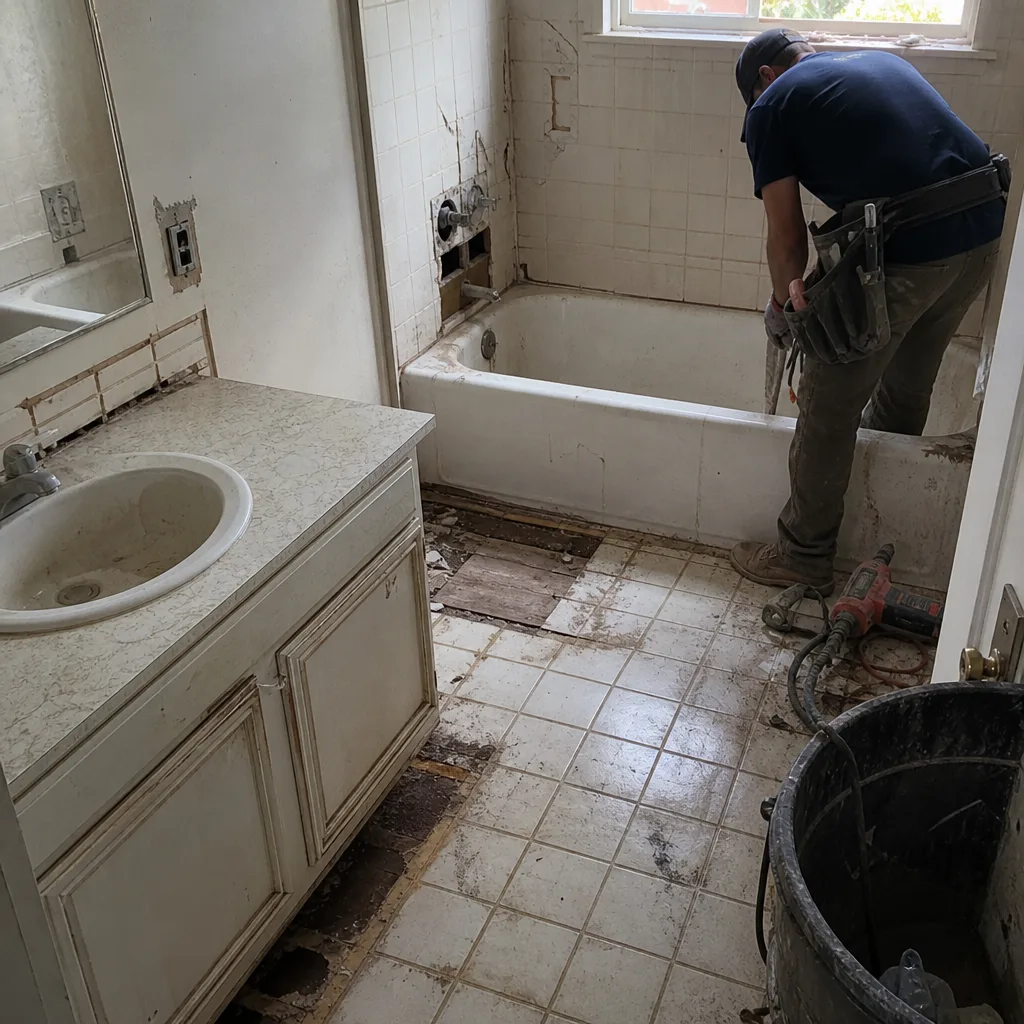 Before
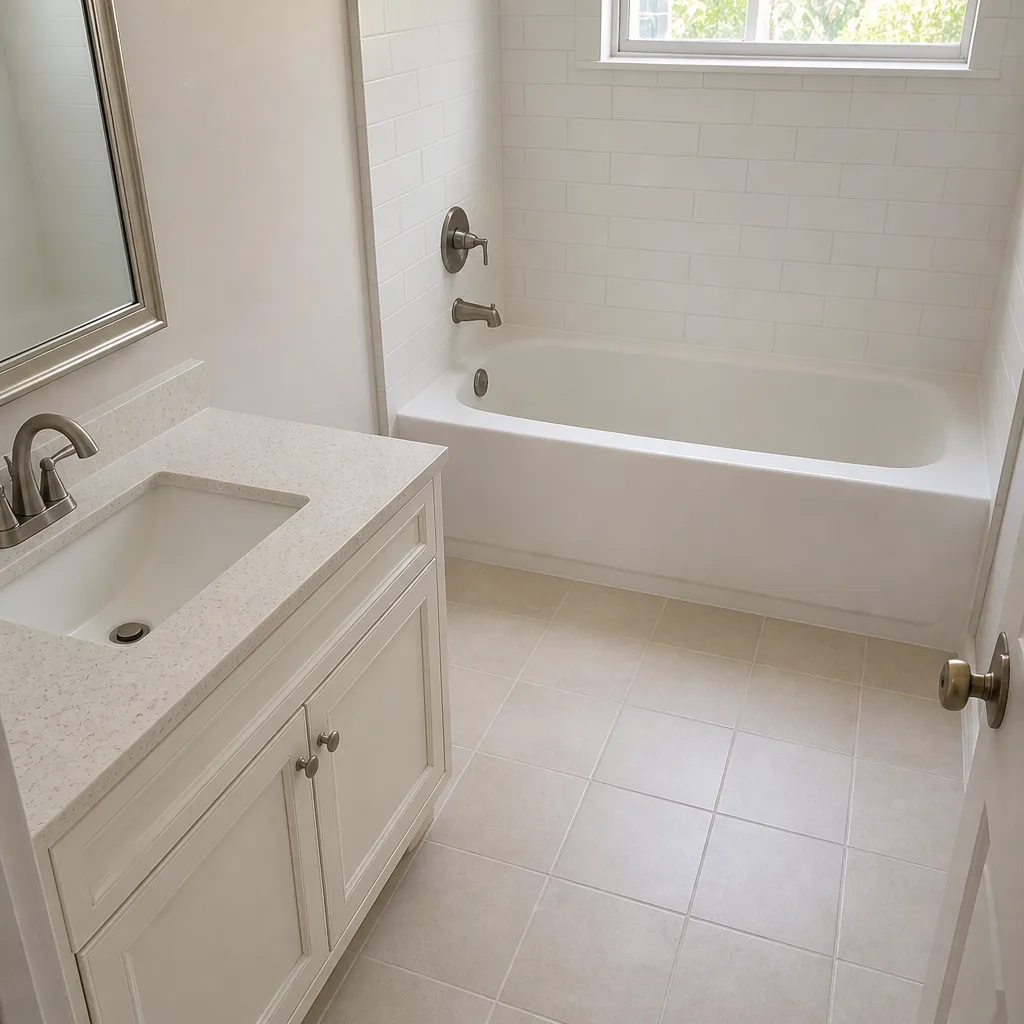 After
When to Call a Professional
Call a professional when the pattern of movement covers a broad area, when the same section has failed more than once, or when you can’t tell whether the cause is the base, the edge, or the original install. Call before you seal a driveway with a manufacturer’s finish warranty, so the maintenance approach matches the material. Call if tree roots are lifting pavers, because a root remedy and a paver repair need to be planned together. Safety matters here too: lifting and re-laying pavers on a base rebuild is heavy work, and re-compacting a base properly is not something most homeowners can do without the right equipment. Construction Santa Clara offers free estimates in Santa Clara – call (844) 435-8936 to schedule a written estimate and diagnosis.
If your projects run past the driveway – a coordinated exterior upgrade, a new fence alongside new pavers, or an ADU addition – one contractor across the whole scope means the trades don’t get in each other’s way. Our fence installation and home additions & ADU pages cover those pieces. And if you’re at the start of a whole-home project rather than a repair, start with Construction Santa Clara.
Frequently Asked Questions
Paver repair costs are priced per job by estimate in Santa Clara, and the range depends on whether the fix is a spot re-set, an edge restraint repair, or a base rebuild. A written line-item estimate spells out the scope before work begins. Call (844) 435-8936 for an exact quote – estimates are free.
Pavers that keep coming loose in the same spot indicate a base problem, not a paver problem. If the base material is loose, wet, or inconsistent under that section, any spot repair on top will fail again. The honest fix is a partial or full base rebuild in that area. Call (844) 435-8936 and we’ll diagnose the base and give you a written estimate.
Usually yes. Weeds in paver joints tend to cluster in low spots where water can’t drain off the surface, so the weeds are following the water rather than just arriving on their own. Grade loss, eroded joint sand, or poor base drainage all leave moisture in the joints, and re-sanding without fixing the water source won’t stop them. Call (844) 435-8936 to have the drainage assessed.
It can, if the pressure is too high. Aggressive pressure-washing blasts joint sand out of the joints, and on engineered pavers with a documented manufacturer’s finish warranty, the wrong cleaning method or chemical treatment can void the coverage. Use a wide fan tip at moderate pressure and check the manufacturer’s maintenance guidance first. If you’re unsure, call (844) 435-8936 and we’ll assess before anything is washed or sealed.
Tree roots push pavers upward in a curved or snaking line, while base failure pushes them down in a bowl shape. If the lift runs along the edge nearest a mature tree and returns after a repair, roots are the likely cause. Call (844) 435-8936 and we’ll look at the pattern and, if needed, bring in an arborist for the tree side.
A spot repair is honest when the base under the affected area is stable and the movement is small and isolated. A base rebuild is the right fix when the failure covers a wide area, when settlement is interior and bowl-shaped, or when the same section has already failed twice. Call (844) 435-8936 for a free estimate and we’ll tell you which one applies.
The Bottom Line
Driveway paver problems in Santa Clara are almost always one of three things: base failure, edge restraint failure, or a flawed original install. Read the pattern of movement before you touch a stone, and the diagnosis tells you the repair. Weeds are usually water. Lifting along one edge is usually roots. Recurring failures on the same section mean the base is compromised and a spot repair will only reschedule the problem. Once the cause is identified, repairs follow a clear path, and maintenance – washing, re-sanding, sealing – protects the result as long as it’s done at the right pressure and in the right order. If you’d rather have a trained eye read the driveway before you spend money on another patch, we’re happy to take a look and give you a written estimate.
Call (844) 435-8936. We answer 24/7. Fast dispatch from 7am to 7pm, Sunday through Friday.
Written by the team at Construction Santa Clara.