
Last updated November 18, 2026








Free written scope consultation - allowances, timeline, and change-order rules on paper before a single trade is scheduled
Construction Emergency Preparedness Guide for Santa Clara Homes
Most homeowners think construction emergencies are about earthquakes and wildfires. In Santa Clara, the failures that wreck finished interiors are quieter: a flashing detail that lets go in the first real November storm, a water heater pan that rusts through, a retaining wall that leans a fraction more each wet season. The window to act is short. When water finds a ceiling, you have hours, not days, before drywall, insulation and paint become a gut-and-rebuild job. This guide walks through the audit you do before an event, the first hour of an emergency, the documentation your insurer will want, and how to vet a contractor fast.
Quick Answer
A construction emergency plan for a Santa Clara home means three things: knowing which five parts of your house are most likely to fail, keeping a small kit of temporary repair materials where you can reach them, and having documentation ready before you call anyone. In the first hour of water intrusion, roof damage, a structural crack or a failed retaining wall, your job is to stop the spread, make it safe, photograph everything and call a licensed contractor. The repair itself can wait an hour. The documentation cannot.
Styles & brands we work with
- Kitchen remodeling
- Bathroom remodeling
- Home additions & ADU
- Roofing
- Windows & doors
- Driveway & pavers
- Fence
Table of Contents
- The Pre-Emergency Audit: Five Areas of a Santa Clara Home Most Likely to Fail
- The First Hour of a Construction Emergency: Step by Step
- Documentation for Insurance Claims: What to Photograph and What to Leave Alone
- How to Vet an Emergency Contractor in Under 20 Minutes
- The Temporary Repair Kit Every Santa Clara Homeowner Should Keep
- Emergency Fixes That Create Bigger Problems
- Which Contractor to Call First, and in What Order
- Preparedness Is a Construction Project, Not a Shopping List
The Pre-Emergency Audit: Five Areas of a Santa Clara Home Most Likely to Fail
Santa Clara sits in a climate that’s easy on houses most of the year and hard on them in bursts. Dry summers bake sealants, caulk and roof cement until they crack. Then the first substantial rain arrives and finds every gap the heat opened. Add the seismic reality of the South Bay and a housing stock that ranges from mid-century ranch homes near Santa Clara University to newer townhomes off El Camino Real, and you get a specific set of weak points. These five deserve a look before storm season, not after.
1. Roof penetrations and flashing. The field of the roof rarely fails first. Flashings around vents, skylights, chimneys and the wall-to-roof transition do. Climb into the attic on a dry day and look for stained sheathing or daylight at penetrations.
2. Window and door perimeters. Aging caulk and failed weatherstripping let wind-driven rain in sideways. Check sills and the frames of sliding doors, especially on the windward side of the house.
3. The water heater pan and supply lines. A rusted pan or a brittle supply line is one of the most common sources of interior water damage in Santa Clara homes. Look at the pan, the shutoff valve and any braided line older than you can remember.
4. Retaining walls and site drainage. Many Santa Clara lots have grade changes at the side or rear yard. A wall that’s leaning, bulging or showing horizontal cracks is a problem that gets worse with every wet season, not better.
5. Fences and gates. A fence that’s rotted at the posts becomes a wind sail. After a strong storm it can take out a gate, damage a vehicle or block a drainage path. Fence installation with properly set posts is the preventive fix; a wobbly fence before the rains is the warning.
Walk these five every autumn and note what you find. You’ll spend less time guessing when something actually happens.
The First Hour of a Construction Emergency: Step by Step
What you do in the first 60 minutes decides how much of the interior survives. The steps below work for water intrusion, roof damage, a structural crack and a failed retaining wall alike, with one adjustment per situation noted at the end.
- Make it safe first. If water is near outlets, a panel or a light fixture, shut off the circuit at the breaker before you go near it. If a ceiling is sagging or a wall is bowing, keep people and pets out of the room. Don’t stand under a bulge to inspect it.
- Stop the water, not the damage. If the source is a supply line, close the fixture shutoff; if you can’t find it, close the main. If it’s rain coming in, get a bucket or a tarp in place and contain the spread with towels and a wet/dry vacuum.
- Photograph before you move anything. Wide shot, medium shot, close-up. Include something for scale and a shot that shows the whole room so the adjuster can see where the damage sits in the house.
- Move what can be saved. Furniture, rugs, electronics and anything with fabric off wet flooring. Prop wet items so air can move around them; don’t stack them in a spare room to “deal with later.”
- Document the source. Photograph the failed flashing, the cracked wall, the rusted pan, the split supply line. The source photo is often what determines whether the claim moves quickly.
- Call a licensed contractor. Describe what you’re seeing and what you’ve already done. The right person will tell you what can wait and what needs a temporary measure now.
- Write down the timeline. Time you found the problem, time you shut the water or power, time you called. A short note on your phone is enough; a clean timeline makes the claim easier.
Adjustments by situation: for a structural crack, don’t try to seal it, just keep the area clear and photograph the width with a tape measure in frame. For a failed retaining wall, keep weight off the top, don’t park vehicles near it and don’t dig at the base. For roof damage, stay off the roof; a wet, damaged roof is a fall hazard and covering it is a job for someone with the right equipment.
Documentation for Insurance Claims: What to Photograph and What to Leave Alone
The biggest avoidable mistake in a construction-related insurance claim is repairing before the adjuster sees the damage. Once you’ve torn out wet drywall or replaced a section of roof, you’ve destroyed the evidence your carrier relies on to confirm the cause and the extent. Document first. Repair after.
What to photograph:
- The source of the loss, close up and in context (the flashing, the crack, the failed line).
- Wide shots of every affected room, taken from the doorway.
- Damage progression shots if you check again a few hours later.
- Serial and model numbers of damaged appliances or fixtures.
- Any temporary measures you took, with the date you took them.
What to preserve:
- Any failed part you can safely remove and keep (a section of flashing, a split line, a piece of cracked caulk).
- Receipts for anything you buy to protect the house, like tarps, fans or a dehumidifier rental.
- Your pre-emergency audit notes if you have them. A photo of a flashing you flagged last fall is strong evidence the loss was sudden, not a slow leak you ignored.
What not to do:
- Don’t throw out damaged materials before the adjuster visits or tells you it’s fine to.
- Don’t pay for a permanent repair and then file; the claim is about the loss, and your carrier may want to see the original condition.
- Don’t rely on memory for dates and sequence. Write it down.
If the loss touches a finished interior, a remodeled bathroom or kitchen, keep the design and material records too. Knowing that your vanity is Cambria and your fixtures are Kohler makes the replacement scope accurate rather than guessed.
How to Vet an Emergency Contractor in Under 20 Minutes
You don’t have time for full due diligence in the middle of a leak, but you can verify three things in under 20 minutes and rule out most of the bad actors. Do these before anyone starts work or asks for a deposit.
- Verify the license. Ask for the contractor’s license number and check it with the state licensing board. A real license number takes a minute to confirm. If the person on the phone can’t or won’t give one, that’s the end of the conversation.
- Ask for the insurance certificate. General liability and workers’ compensation. A legitimate contractor can send a certificate of insurance the same day. If a crew member is injured on your property without coverage, the exposure lands on you.
- Get the scope and the price in writing. Not a text saying “we’ll handle it.” A line-item scope that says what’s being done, what materials are being used, and what the price is. If the person won’t put it in writing before starting, they’re not the right contractor for a job you may be filing on.
Beyond those three, two quick signals help. First, ask what they’d do for the temporary measure and why. A contractor who can explain the reasoning is one who understands the failure, not just the cleanup. Second, ask whether the repair might need a permit. A contractor who says “probably not” to everything is telling you something about how they work. Most structural, electrical and plumbing work in Santa Clara needs a permit, and a professional will tell you when.
If the project is going to grow into something more than a repair, use the same discipline you’d use for a planned job. A coordinated scope, brand-specific materials and a written estimate are the same standards whether you’re patching a roof or planning home additions & ADU work down the line.
The Temporary Repair Kit Every Santa Clara Homeowner Should Keep
A small, well-chosen kit buys hours. It won’t fix anything permanently, and it shouldn’t try to. The goal is stopping the spread and protecting the interior until a professional gets there.
- A roll of heavy-duty plastic sheeting and a roll of quality tarp. One for interior draping, one for exterior covering if you can do it safely from the ground.
- Duct tape and a staple gun. For hanging plastic over doorways and windows, and for tacking it in place.
- A wet/dry vacuum. The single most useful tool in the first hour of water intrusion.
- Absorbent towels and a stack of old bath mats. Machine washable and easy to lay down fast.
- A small pry bar and a utility knife. For opening a soffit or lifting a baseboard to check for hidden water, not for demolition.
- A portable fan and, if you own one, a dehumidifier. Moving air on wet framing in the first 24 hours matters.
- A flashlight and spare batteries. Power may be off in the affected area.
- A note card or small notebook. For the timeline.
Two things not to buy: spray foam and “roof patch” in a tube are for small, well-understood repairs. Used on a flashing or a crack you don’t understand, they trap water and make the eventual repair bigger. If you’re not sure what you’re looking at, cover it and call.
Emergency Fixes That Create Bigger Problems
Some of the most expensive repairs we see started as a homeowner’s fast fix. The pattern is always the same: water or movement gets trapped instead of managed, and the damage spreads into framing, insulation or the finish you were trying to protect.
- Sealing a crack you haven’t diagnosed. A structural crack that gets caulked hides the movement that caused it. The next season it’s wider and the repair is bigger.
- Spray foam on a roof leak. It doesn’t adhere well to a wet surface and it traps moisture against the sheathing. A tarp is the right temporary answer.
- Running a fan on a wet ceiling without checking for sag. You can push the sag to failure. If the drywall is bulging, don’t touch it; let a professional open it safely.
- Digging at the base of a retaining wall to “relieve pressure.” That removes the support keeping the wall upright. Keep the area clear and let an engineer or a licensed contractor look at it.
- Patching a fence post in a hurry. A rotted post that gets a new board bolted to it is a wind sail waiting to fail. Barrette and other steel and vinyl systems are rated to hold up; a fast patch isn’t.
- Replacing a window with the wrong product. A window that isn’t rated for the opening can leak in a driving rain. Matching the product to the opening, including frames from a manufacturer like Therma-Tru or a window system such as Mr-Glass, is what prevents the next emergency.
None of these fixes is a crime. All of them are the reason a small repair occasionally turns into a full interior rebuild. When you’re not certain what you’re looking at, cover it and call. That’s not helplessness; that’s knowing what buys time and what doesn’t.
Which Contractor to Call First, and in What Order
The order matters. Calling the wrong trade first can waste the window you have. Here’s the sequence we recommend for the most common Santa Clara emergencies.
- Water intrusion from a supply line or appliance: shut the water, then call a plumber. Once the water is stopped, a restoration professional to dry the interior. Only after drying do you consider drywall repair.
- Roof damage or active leak from above: call a roofing contractor. The right first step is a temporary cover or repair to stop the entry, then a plan for the permanent fix once it’s dry.
- Window or door failure in wind-driven rain: call a window and door contractor. A failed seal or a broken sash is a fast fix; a leaking frame in a storm may need a temporary interior catch and an exterior inspection when it’s safe.
- Structural crack or bowing wall: call a licensed contractor with structural experience. Don’t have anyone remove or open the area until it’s been assessed.
- Failed retaining wall: call a licensed contractor, and expect a possible referral to a structural or geotechnical engineer. A wall that’s leaning is a safety issue before it’s a construction issue.
- Fence or gate down after a storm: call a fence contractor. Clearing the path first is a good idea; a full fence installation with properly set posts is the durable fix once the weather allows.
If more than one thing fails at once, start with whatever is still letting water or weight in. Then work outward from the source. Everything else can be scheduled once the active problem is contained.
Preparedness Is a Construction Project, Not a Shopping List
The most useful preparedness work is the work you do before storm season, while the weather is dry and the schedule is flexible. That means fixing the roof penetration you’ve been meaning to look at, replacing the supply line you know is old, and addressing the fence post that’s leaned since last winter. It also means making a few improvements that reduce entire categories of emergency risk.
A well-built driveway & pavers project moves water away from the foundation instead of letting it pool against the house. A properly specified window or door replacement with impact-rated or specialty products, from manufacturers like Therma-Tru, Mr-Glass or ViewLux, closes the perimeters that let wind-driven rain inside. And a coordinated scope, planned with brand relationships in roofing (GAF, CertainTeed, Owens Corning), surfaces (Cambria, Silestone, Caesarstone), fixtures (Kohler, Moen, Grohe, Toto, Delta, American Standard), cabinets (KraftMaid, Wellborn), hardscape (Belgard, Unilock, Techo-Bloc, Cambridge, Tremron, Oldcastle) and fencing (Master Halco, Ameristar, Jerith, Bufftech, Barrette, ActiveYards), lets you address several risk areas in one project instead of piecemeal.
You don’t have to plan for every emergency at once. You just have to know which five things in your home are most likely to fail, keep a modest kit, and understand the first hour. If you’d rather have someone look at all of it with you, Construction Santa Clara works across the whole exterior-to-interior scope, from the roofline to the kitchen, so the assessment isn’t split between three trades. Our technicians have up to 13 years of experience and can tell you which fixes are urgent and which can wait for the schedule you actually want.
Common Mistakes to Avoid
- Repairing before the adjuster visits. Wet drywall torn out before documentation is evidence lost. Photograph first, keep failed parts, repair after your carrier confirms.
- Calling a general handyman for a structural crack. A bowing wall or a narrowing door frame needs a licensed contractor or engineer, not a patch. The repair looks finished and hides an ongoing problem.
- Ignoring the flashing because the roof is “new.” In Santa Clara, it’s not the age of the shingles that matters, it’s the condition of the sealants and the flashing details after a dry summer.
- Skipping the permit for a repair that needs one. Most structural, electrical and plumbing work requires a permit in Santa Clara. An unpermitted repair can complicate insurance and resale.
- Storing nothing and improvising everything. No plastic, no wet/dry vacuum, no notebook. The first hour is not the moment to drive to the hardware store.
- Using “seal everything” as a strategy. Spray foam and tube patch are for small known repairs. Used on a source you don’t understand, they trap water and make the eventual fix larger.
- Letting a temporary fix become permanent. A tarp left on for a year destroys the underlying roof; a patch board bolted to a rotted fence post fails the next storm.
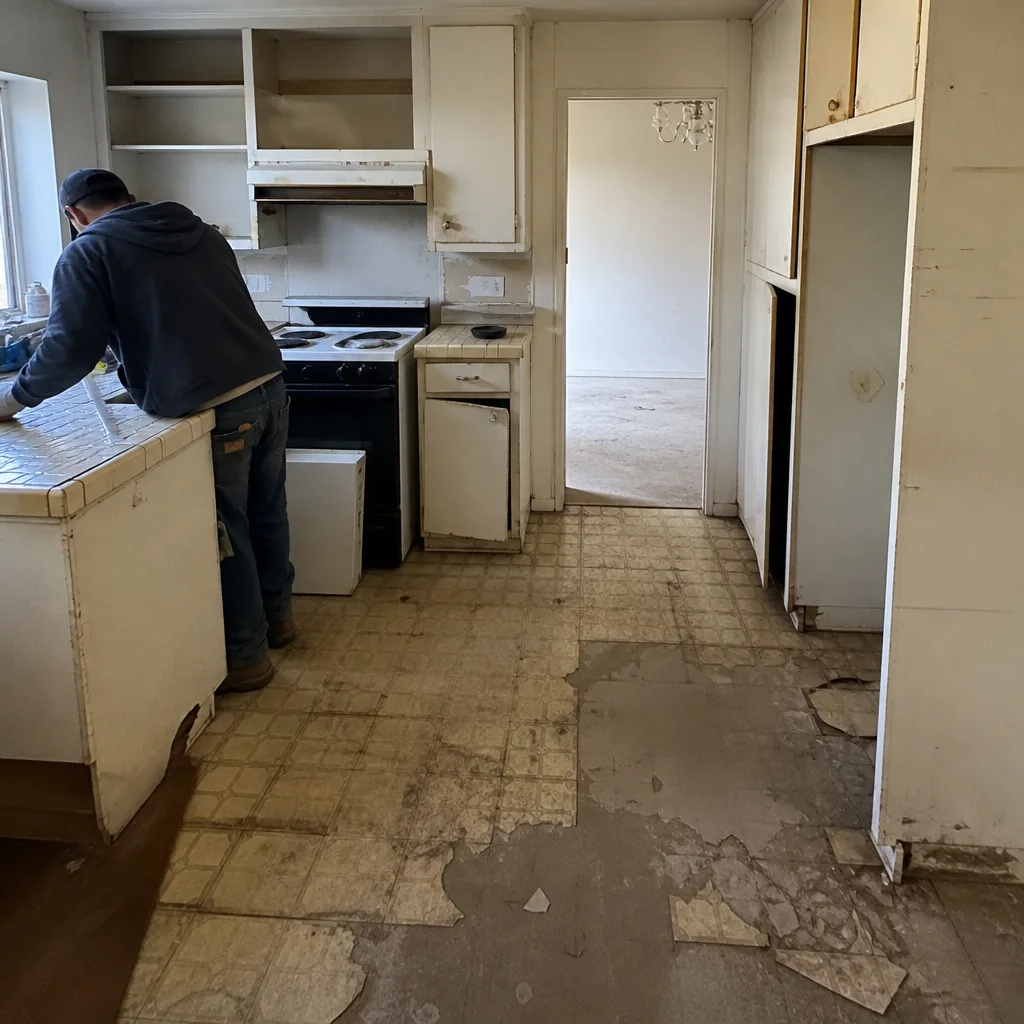
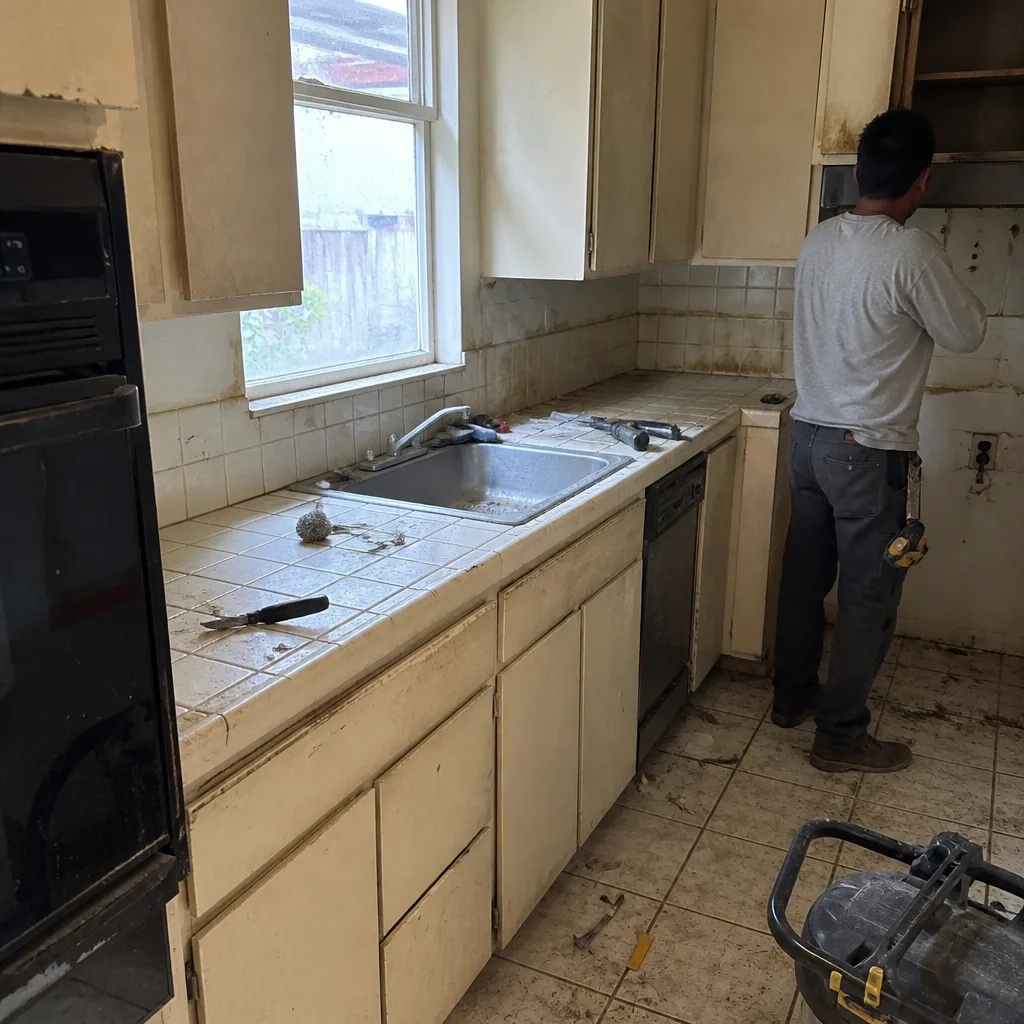
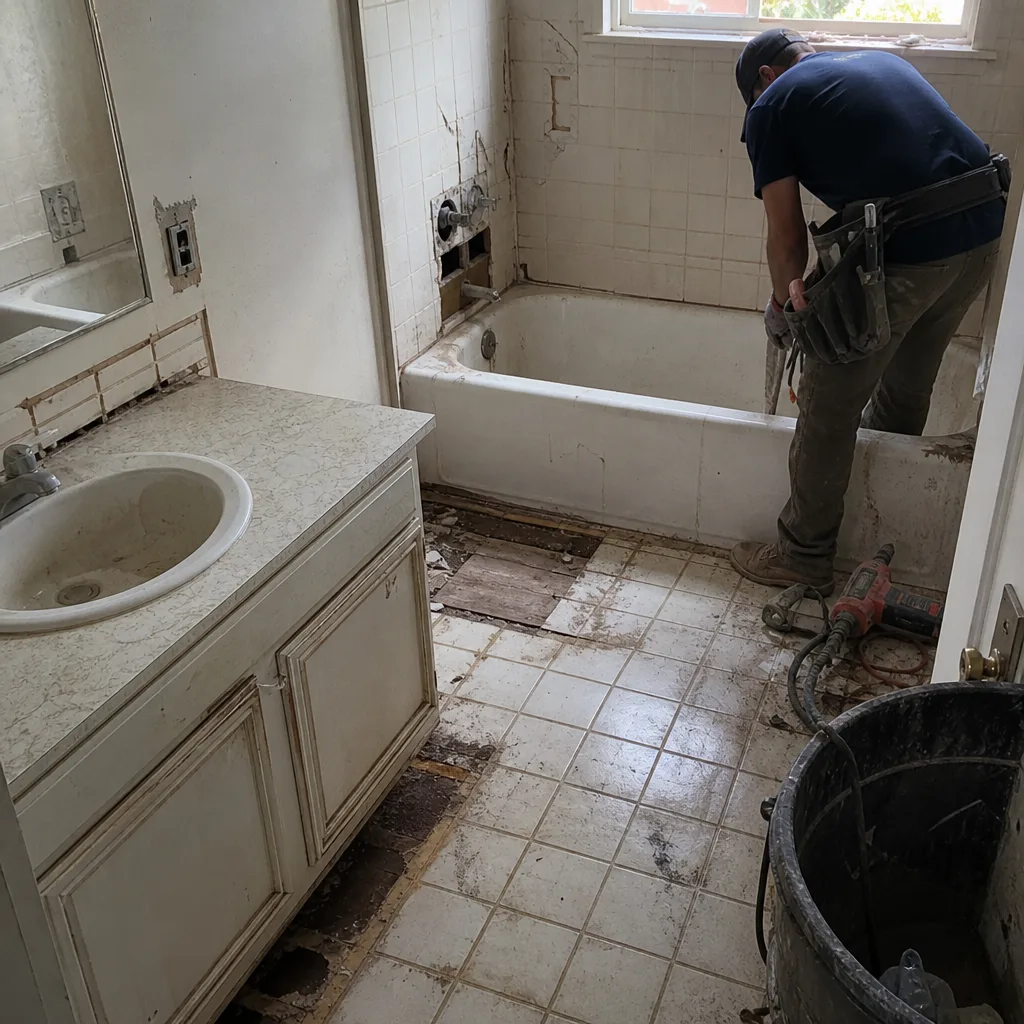
See the difference
 Before
 After
 Before
 After
 Before
 After
When to Call a Professional
Call a licensed contractor when water is entering the interior through the roof, a window or a wall; when any structural element is bowing, cracking or moving; when a retaining wall is leaning or bulging; when a fence or gate has failed and could cause injury; and whenever the repair could involve structural, electrical or plumbing work. Don’t wait for a small problem to become a gut job. The four-hour window between a first leak and a saturated ceiling is real, and most of it is lost to not knowing who to call. Construction Santa Clara offers free estimates in Santa Clara. Call (844) 435-8936. We answer 24/7. Fast dispatch from 7am to 7pm, Sunday through Friday.
Frequently Asked Questions

Water intrusion through the roof, a wall or a window, a structural crack or bowing wall, a leaning retaining wall, a failed fence or gate and any active plumbing leak are the most common. If the problem is still letting water or weight in, or it could cause injury, treat it as an emergency. If it’s a cosmetic issue, it can be scheduled. When you’re not sure, call and describe what you’re seeing; a licensed contractor can tell you whether it can wait.
For active emergencies, Monday through Friday we aim to get a technician out quickly. Call (844) 435-8936. We answer 24/7. Fast dispatch from 7am to 7pm, Sunday through Friday. A call outside dispatch hours is booked into the next opening. Same-day service is often possible for active leaks and other urgent issues; call early to give us the best shot.
Coverage depends on the cause and your policy. Sudden events like storm damage, a failed supply line or a wind-driven window failure are typically covered; deferred maintenance and slow leaks often aren’t. Document everything before you repair, keep failed parts, and contact your carrier early. A written scope from a licensed contractor makes the claim process clearer.
Get a bucket or tarp under it, shut off the circuit to that area if water is near outlets, and photograph before you move anything. Don’t stand under a sagging bulge or try to open it yourself. Call a licensed contractor to assess the source and a restoration professional to dry the interior. Covering the source on the roof is a job for someone with the right equipment.
Some repairs do and some don’t, and it depends on the scope. Most structural work, electrical work and plumbing work requires a permit in Santa Clara. Emergency repairs that could involve any of these should be assessed for a permit before work starts. Ask your contractor to confirm in writing whether the repair requires one.
Small cosmetic repairs are fine to handle, but a post that’s failed structurally, or a gate that’s hanging off a rotted post, needs a proper fix. A patch board bolted to a failed post is a wind sail the next storm. A fence installation with properly set posts and system-rated materials, such as Barrette, is the durable answer. Call (844) 435-8936 for a free estimate if you want a contractor to look at it.
The Bottom Line
Construction emergencies in Santa Clara aren’t mostly about big disasters. They’re about the small failures that get a head start because no one looked in October. Audit five areas every fall: roof penetrations, window and door perimeters, the water heater pan, retaining walls and fences. Keep a modest kit of plastic, tarps, a wet/dry vacuum, towels and a notebook. In the first hour, make it safe, stop the spread, photograph everything, and call a licensed contractor. Document before you repair. Vet the contractor in 20 minutes by checking license, insurance and a written scope. And when a repair turns into a project, do it with a coordinated scope and brand-specific materials. We’re glad to walk a Santa Clara home with you. Call (844) 435-8936 for a free estimate. We answer 24/7. Fast dispatch from 7am to 7pm, Sunday through Friday.
Written by the team at Construction Santa Clara.