Last updated November 18, 2026

Free written scope consultation - allowances, timeline, and change-order rules on paper before a single trade is scheduled
Driveway & Pavers Maintenance Checklist for Santa Clara Homeowners
Most paver driveway advice you’ll find online was written for climates with hard freezes, heavy snowmelt, and soils that stay wet for months. Santa Clara isn’t that place. Here, the real enemies are dry-season soil contraction, irrigation overspray nobody notices, and the small ground movements that come with living in a seismically active region. A paver driveway cared for with California-appropriate habits can last well past 25 years. One maintained on generic internet advice often needs joints refilled, edges reset, or a full reseal in under eight. This guide lays out a season-by-season checklist built specifically for Santa Clara – what to inspect, when to inspect it, what you can handle yourself, and what will void an installation warranty if you touch it.
Quick Answer
A paver driveway in Santa Clara needs four things to last: joint sand topped up each fall after the dry season contracts the soil, irrigation redirected away from the edges year-round, a penetrating sealer every two to four years depending on material, and prompt repair of any edge creep or settled panels. Pull weeds by hand, blow off debris, and skip pressure washing above 1,500 PSI. Anything involving the base layer, edge restraints, or polymeric sand replacement is a contractor job.
Styles & brands we work with
- Kitchen remodeling
- Bathroom remodeling
- Home additions & ADU
- Roofing
- Windows & doors
- Driveway & pavers
- Fence
Table of Contents
- Why Santa Clara Paver Failures Look Different
- Dry-Season Soil Contraction and Your Joints
- Irrigation Overspray: The Hidden Cause of Edge Creep
- Season-by-Season Maintenance Checklist
- Topical vs. Penetrating Sealers by Material
- What You Can DIY vs. What Voids the Warranty
- Pavers vs. Concrete: Maintenance Differences
- Caring for Travertine, Concrete, and Clay Brick
Why Santa Clara Paver Failures Look Different
Santa Clara sits in a Mediterranean climate: wet winters, dry summers, and an enormous gap between the two. That pattern stresses a paver installation in ways that a Midwest or Northeast climate never does. In cold climates, the enemy is the freeze-thaw cycle lifting and cracking pavers. Here, we don’t get that. Instead, the ground swells during winter rains and then contracts steadily through five or six months of near-zero rainfall. Your paver field rides on top of all of that movement.
The base layer – usually compacted aggregate – is supposed to absorb that movement. When it’s installed correctly and the joints stay full, it does. When the joints open up and water gets underneath, the base starts to erode, and that’s when you see settling, rocking pavers, and the “walking” edges that frustrate homeowners in neighborhoods like Rivermark and the older streets off El Camino.
A second Santa Clara-specific factor is seismic activity. We’re in a region where small ground movements are simply part of life. A rigid installation – poured concrete, for example – cracks when that happens. Pavers are actually the smarter choice because they flex. But flexible systems depend on the joints and edge restraints working together. When one fails, the rest follow.
None of this means pavers are a bad choice. Far from it. It means the maintenance calendar has to match the climate. Our technicians have up to 13 years of experience, and in that time we’ve watched some installations sail through two decades and others fall apart in seven. The difference is almost never the pavers themselves. It’s whether the homeowner followed advice written for their actual climate.
Dry-Season Soil Contraction and Your Joints
Here’s the mechanism most homeowners never hear explained. Polymeric sand is the material that fills the gaps between pavers and locks them in place. It’s designed to harden when wet and stay slightly flexible afterward. During Santa Clara’s dry season – roughly May through October – the clay-heavy soil beneath your driveway loses moisture and shrinks. The paver field settles downward in tiny increments, and the joints open up by fractions of an inch.
That’s normal. What matters is catching it before winter rains arrive and drive water into those open joints. Once water gets under the pavers, the base erodes, and you’re looking at a much bigger repair.
The Fall Inspection Window
In Santa Clara, the right time to inspect and top off joints is late September through mid-October, before the first significant rain. This is the window when the soil has finished contracting for the season and any joint gaps are at their widest. Fill them now and you’re set for winter. Wait until November and you’ve already let water in.
What to look for during that inspection:
- Visible gaps between pavers – if you can see more than about 1/8 inch of daylight in the joints, they need sand
- Sand settling – press a finger into the joints; if the sand sits more than a quarter-inch below the paver surface, it’s low
- Rocking pavers – step on each one; movement means the base underneath has shifted
- Weeds in joints – a sign the sand barrier has broken down
- Edge separation – the outer row moving away from the field, which points to a failing edge restraint
Filling joints with fresh polymeric sand is a job many homeowners can handle with the right product. Replacing a failed edge restraint or rebuilding a settled section of base is not. If you find either of those, that’s a call to a contractor. We handle driveway & pavers work across Santa Clara and can tell you in a single visit whether it’s a top-off or a repair.
Irrigation Overspray: The Hidden Cause of Edge Creep
In our experience across Santa Clara, the number one cause of premature paver edge failure isn’t traffic, weight, or bad materials. It’s the sprinkler head aimed two feet too far.
Edge creep is what happens when the outer row of pavers slowly migrates away from the main field. It usually shows up first on the driveway edge closest to landscaping, and it starts with water. Residential irrigation systems overspray constantly – a pop-up head that’s tilted a few degrees, a broken nozzle, or a timer that runs too long. That water lands on the paver edge, works into the sand joints, softens the base, and over a couple of seasons the edge slowly walks outward.
The fix is straightforward once you know to look for it:
- Watch a full irrigation cycle – stand on the driveway and watch each zone run. Any head that sprays onto the pavers is a problem.
- Adjust or replace the heads – a quarter-turn of the nozzle often solves it. Broken heads are cheap to replace.
- Cut back the timer – in Santa Clara, established landscaping rarely needs the watering schedule most people default to. Run times from a wetter climate waste water and damage pavers.
- Re-check after each season change – heads shift, and what worked in October may overspray in June.
This single habit – keeping irrigation off the pavers – will do more for the life of your driveway than any sealer on the market. It also matters if you’re planning fence installation along the driveway edge, since a fence line gives irrigation water a place to pool against the pavers.
Season-by-Season Maintenance Checklist
This is the calendar we recommend to Santa Clara homeowners. It’s calibrated to Northern California’s wet-winter, dry-summer pattern, not to national averages.
Spring (March – May)
- Walk the full driveway and note any paver that rocks or sits lower than its neighbors.
- Pull weeds by hand from joints – avoid chemical weed killers, which can stain pavers.
- Check the irrigation system for overspray onto the pavers and adjust the heads.
- Rinse off winter dirt and debris with a garden hose or a low-pressure washer.
- Inspect the edges for any early movement before the dry season locks things in.
Summer (June – August)
- Repeat a light weed pass – dry weather makes them easy to pull.
- Keep irrigation aimed away from pavers; this is peak overspray season.
- Spot-clean any oil drips promptly with a paver-safe cleaner; summer heat sets stains fast.
- Check for sun-fading on any topical sealer; if it’s chalky or peeling, plan a reseal in fall.
Fall (September – November)
- Do the full joint inspection in late September or early October, before the rains.
- Top off joints with polymeric sand where they’ve opened up.
- Clear leaves and debris – wet leaf litter stains pavers and holds moisture against them.
- If it’s a reseal year, apply the sealer in dry weather well before the rains start.
- Check that drainage paths run away from the driveway, not toward it.
Winter (December – February)
- Keep the driveway clear of standing water and debris; Santa Clara’s wet season does the stressing.
- Watch for puddles that don’t drain within a day; they point to a settled area or a blocked path.
- After the heaviest rains, walk the edges again – any new movement needs attention.
- Skip pressure washing during the wet season; it drives more water into already-saturated joints.
Topical vs. Penetrating Sealers by Material
Sealer choice is where a lot of homeowners get sold the wrong product. There are two broad categories, and the right one depends on your paver material and the look you want.
Topical Sealers
Topical sealers form a film on the surface. They add a wet or glossy look and can deepen color. They also wear off faster, can turn chalky under strong sun, and trap moisture if applied over joints that aren’t fully dry. In Santa Clara’s dry summer heat, a topical sealer needs more frequent attention than most homeowners expect. They’re fine on some concrete pavers but a poor match for natural stone.
Penetrating Sealers
Penetrating sealers soak into the paver surface and block water absorption without leaving a film. They last longer, don’t change the color much, and don’t trap moisture. For most Santa Clara installations, a penetrating sealer is the safer choice. The caveat: they need to be refreshed every two to four years depending on traffic and sun exposure.
By Material
- Travertine – use a penetrating sealer formulated for natural stone. Avoid pressure washing and acidic cleaners entirely.
- Concrete pavers – either type works, though penetrating is generally the better fit. Concrete pavers from lines like Belgard, Unilock, Techo-Bloc, and Cambridge are engineered for this climate.
- Clay brick – penetrating sealer only. Clay is porous and absorbs moisture readily; a film-forming sealer can trap water inside.
If you’re unsure which sealer your installation was made for, that’s worth a professional opinion. Applying the wrong product can cost you more than skipping a reseal altogether. When the time comes to refresh the material itself, we work with six paver lines including Belgard, Unilock, Techo-Bloc, Cambridge, Tremron, and Oldcastle, so matching an existing paver is usually possible.
What You Can DIY vs. What Voids the Warranty
Half the maintenance tasks on this checklist are homeowner-friendly. The other half can cost you the warranty on the installation if you take them on yourself. Here’s the honest split.
Safe to DIY
- Hand-weeding between pavers
- Sweeping and rinsing debris off the surface
- Adjusting irrigation heads
- Spot-cleaning stains with a paver-safe cleaner
- Topping off joints with polymeric sand when you’re doing it correctly
- Low-pressure washing (below 1,500 PSI) with a wide nozzle
Call a Contractor
- Replacing or resetting edge restraints
- Rebuilding a settled section of base
- Lifting and resetting pavers in an area that’s failed
- Full polymeric sand replacement (not just top-off)
- Any structural repair after ground movement
- Corrective work on an installation that’s still under warranty
The warranty point matters most. Most installation warranties require that structural repairs be done by a qualified contractor – if you lift pavers and rebuild the base yourself, the warranty is void going forward. If you’re unsure where a repair falls, get the opinion before you touch it. And if you’re considering a fresh installation entirely, our broader Construction Santa Clara services cover the coordination from base prep through finishing.
Pavers vs. Concrete: Maintenance Differences
Homeowners in Santa Clara often ask whether they should have gone with concrete, or whether to switch. Here’s the honest comparison for this climate.
- Concrete cracks. It’s a when, not an if. Seismic movement, dry-season soil contraction, and thermal expansion all work against a rigid slab. Cracks let water in, and water under a slab is expensive to fix.
- Pavers flex. The same ground movement that cracks concrete loosens joints in a paver field – a much cheaper problem to solve. A single settled paver is a small job; a cracked slab is not.
- Concrete is lower maintenance day-to-day. No joint sand to top off. But when it fails, it fails more dramatically.
- Pavers are repairable. You replace the damaged paver, not the whole driveway.
- Concrete needs resealing too. A sealed concrete driveway still requires resealing every two to three years to protect against stains and sun.
In our experience, paver driveways are the better fit for Santa Clara’s ground conditions. They’re also the better fit aesthetically – and modern paver lines from manufacturers like Belgard and Unilock have closed the cost gap with high-end concrete.
Caring for Travertine, Concrete, and Clay Brick
Travertine
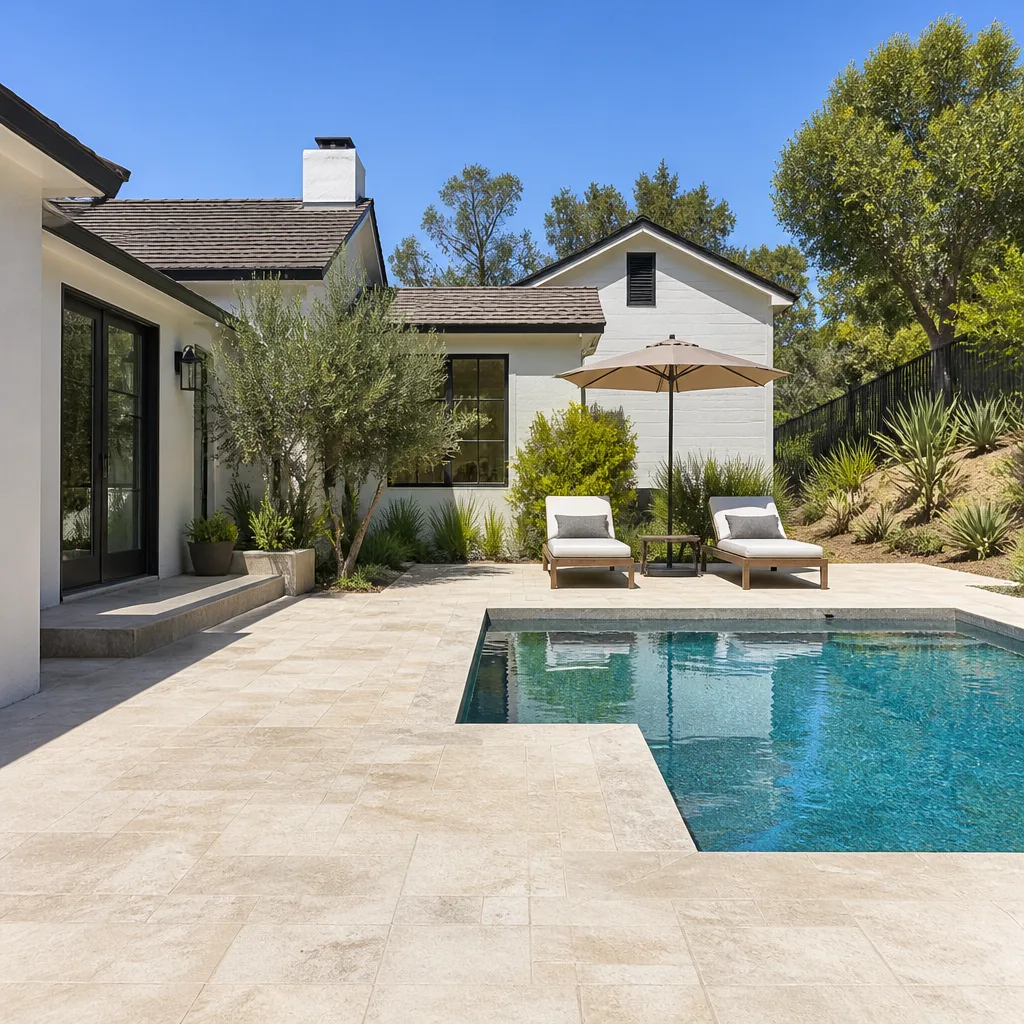
Travertine is a natural stone and behaves differently from manufactured pavers. It’s softer and more absorbent, so it needs a penetrating sealer from the start. Avoid acidic cleaners, avoid pressure washing, and blot spills rather than scrubbing. In Santa Clara’s summer heat, travertine surface temperatures climb, so a sealer that resists UV fading is worth seeking out. Never use joint sand with a latex additive on travertine – use a stone-formulated polymeric sand instead.
Concrete Pavers
Concrete pavers are the most forgiving material in this climate. They tolerate standard pressure washing (keep it low), handle most cleaners, and reseal cleanly. The main risks are stains from oil and leaf tannins, both of which set quickly in heat. Clean up drips and leaf litter before they bake in. Concrete pavers from Techo-Bloc, Cambridge, or Tremron are engineered for load and weather performance, so the pavers themselves rarely fail – it’s the joints and edges that need attention.
Clay Brick
Clay brick pavers are dense and long-lasting but porous. They absorb water quickly if unsealed. A penetrating sealer is the right call, and it should be reapplied every two to three years in Santa Clara’s sun. Efflorescence – the white powdery bloom that appears on clay – is a sign moisture is trapped inside. Don’t seal over it; treat it first, then seal. If efflorescence keeps returning, water is getting in from underneath, which usually points back to a joint or drainage issue.
Whichever material you have, matching a repair paver from the same line is usually the trickiest part. If you don’t know your manufacturer, our team can often identify a paver by appearance and dimension. We also handle home additions & ADU projects where new driveways and hardscape need to tie into existing materials, so we’ve matched a lot of them.
Common Mistakes to Avoid
- Pressure washing at high PSI. Anything above about 1,500 PSI strips the joint sand and erodes the paver surface. It’s the fastest way to spend a weekend undoing your own work.
- Using weed killer on joints. Chemical weed killers stain pavers and can damage the polymeric sand bond. Pull weeds by hand or use a joint-safe product.
- Sealing over wet joints. If the joints hold moisture when you apply sealer, you trap water in the base. Always seal in dry weather, and never seal in the same week as a joint top-off.
- Ignoring irrigation overspray. This is the big one. A sprinkler head aimed at the pavers is a slow-motion repair bill. Fix it before it does damage, not after.
- Skipping the fall joint inspection. Waiting until after the first rain means water has already entered the open joints. Inspect in late September or early October, not November.
- Assuming the sealer is permanent. It isn’t. Topical sealers wear off, penetrating sealers need refresh, and skipping a reseal leaves the pavers exposed to sun and stains.
- Rebuilding a repair yourself under warranty. If your installation is still under warranty, a homeowner-led structural repair can void it. That’s a conversation to have before you start.
See the difference
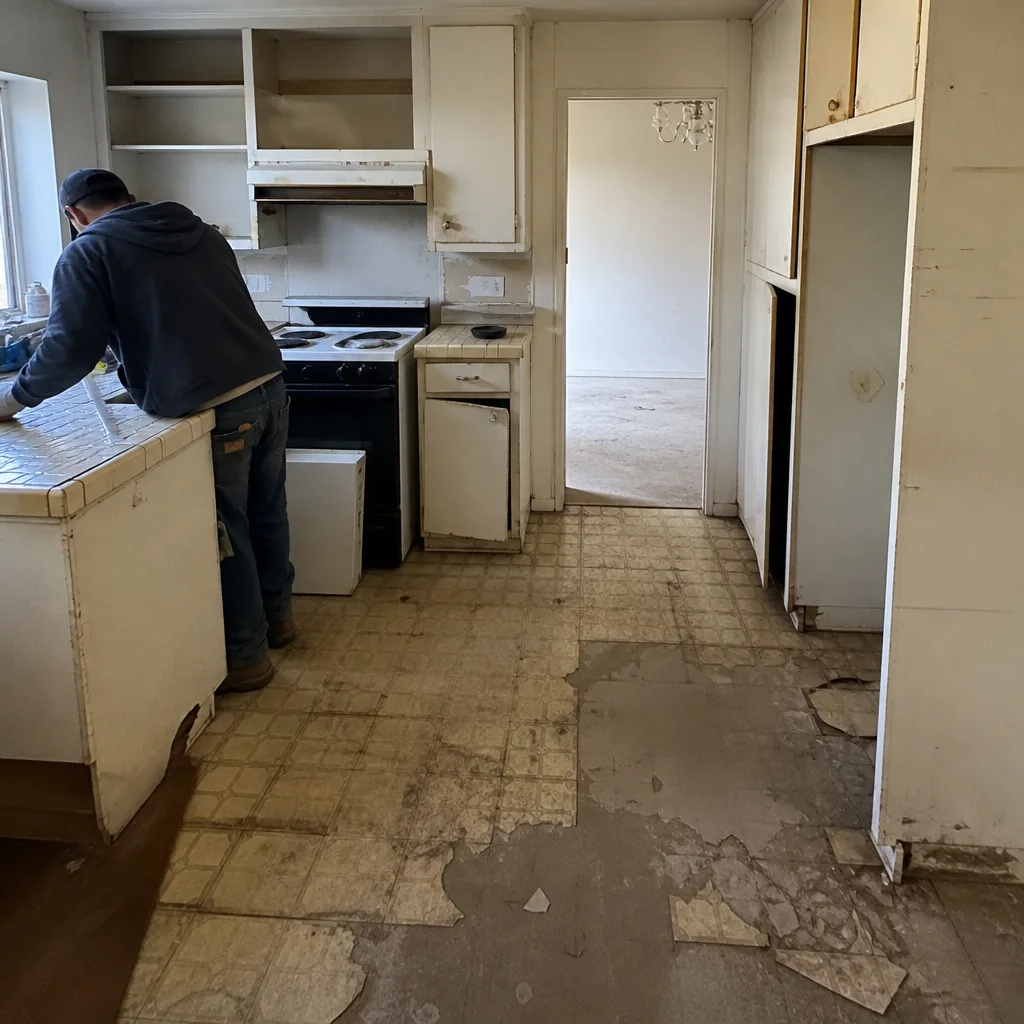 Before
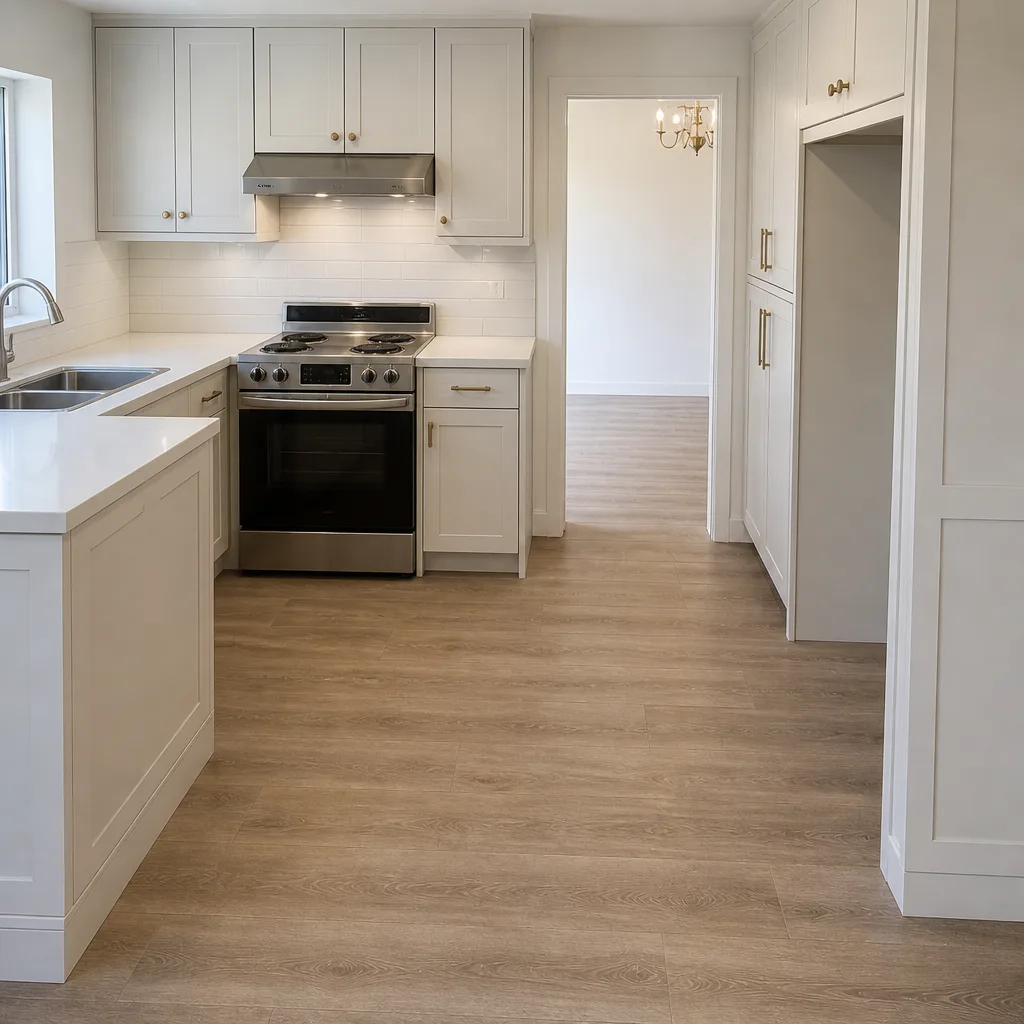 After
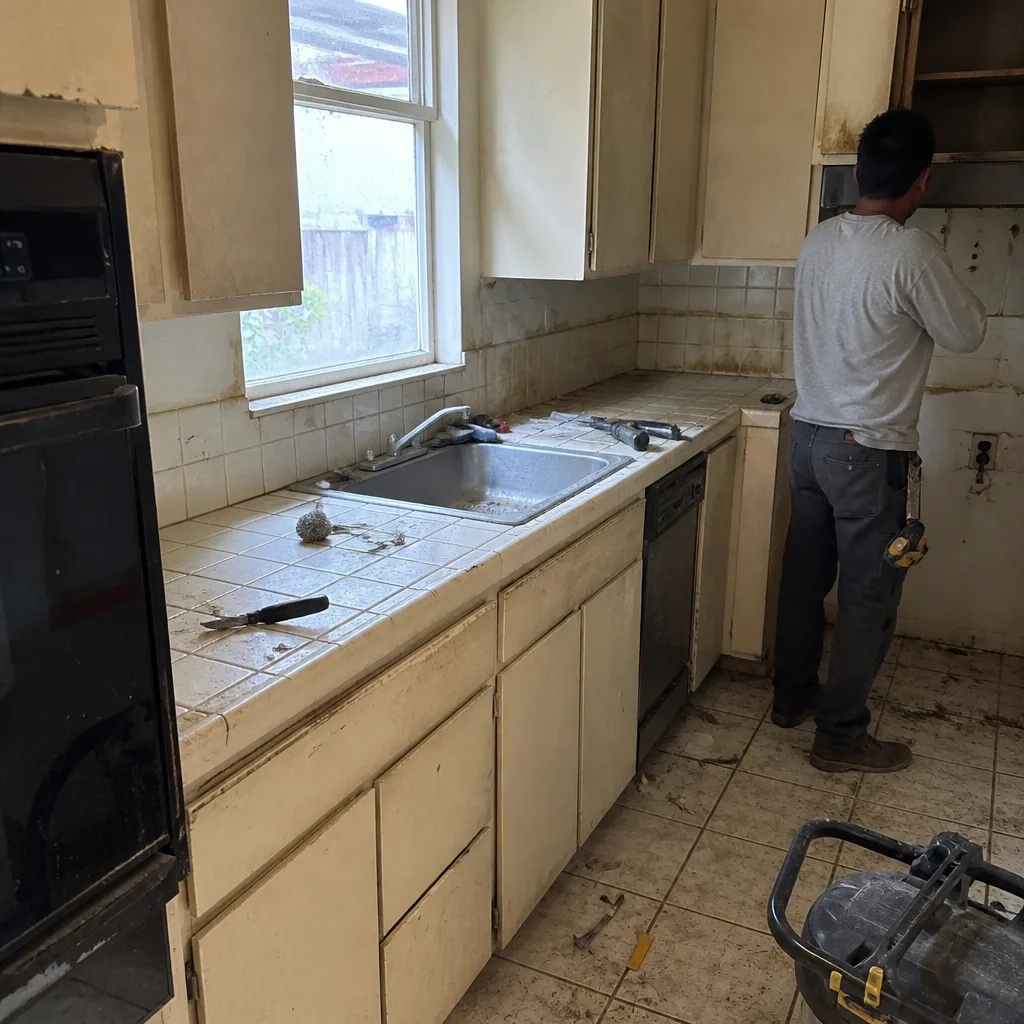 Before
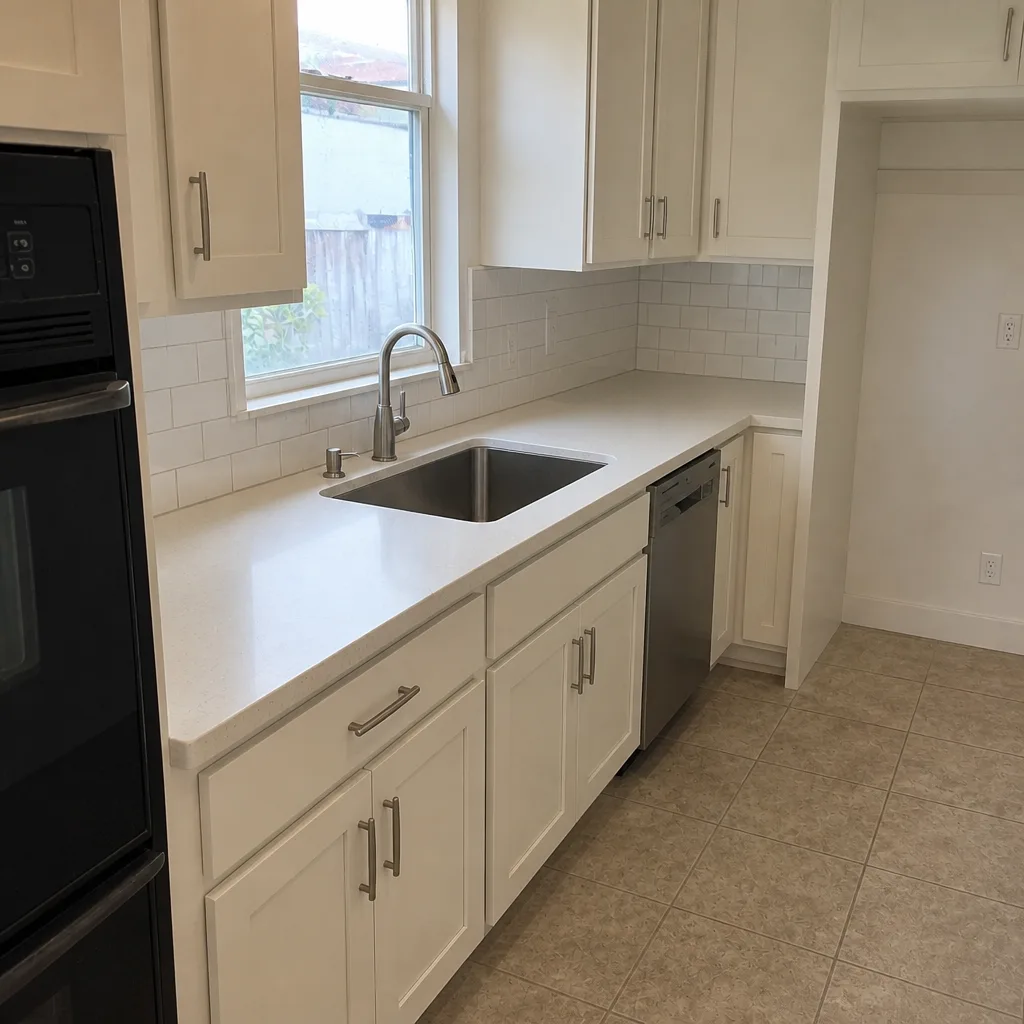 After
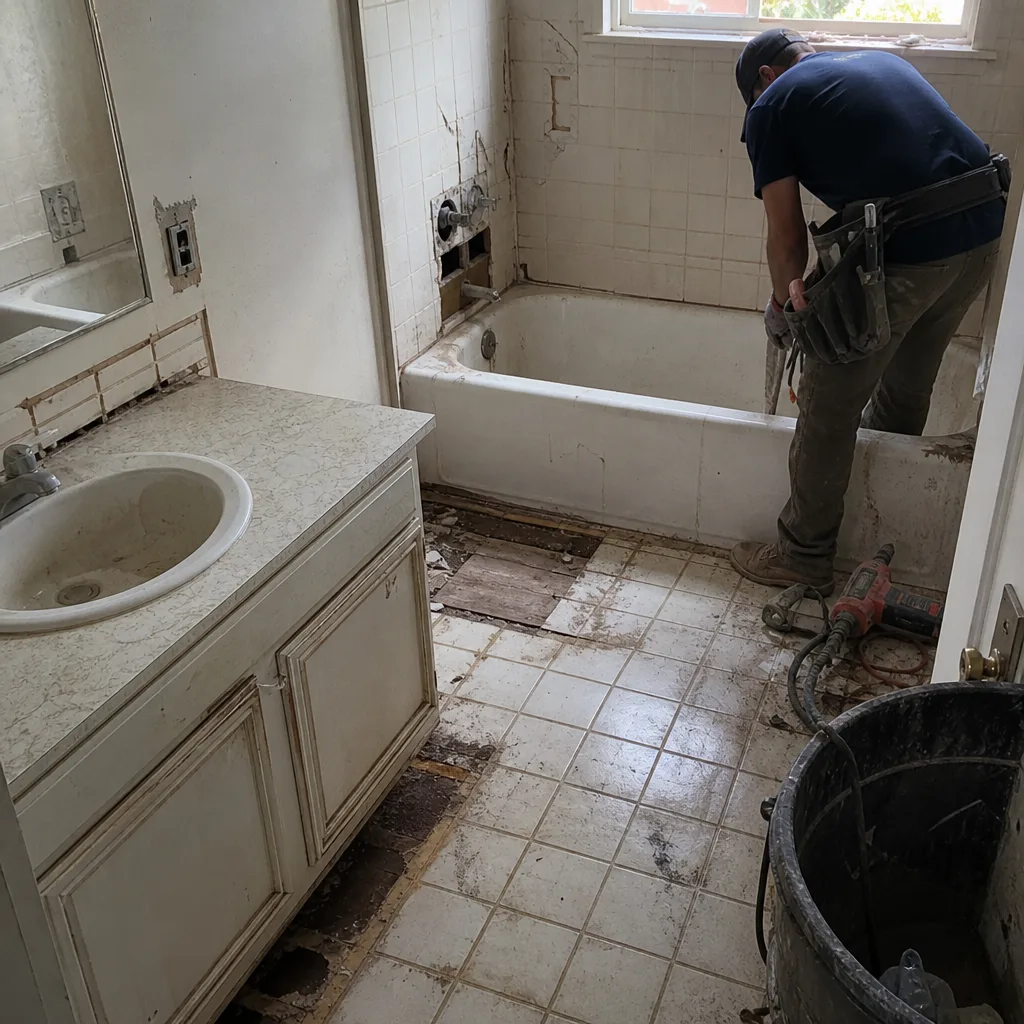 Before
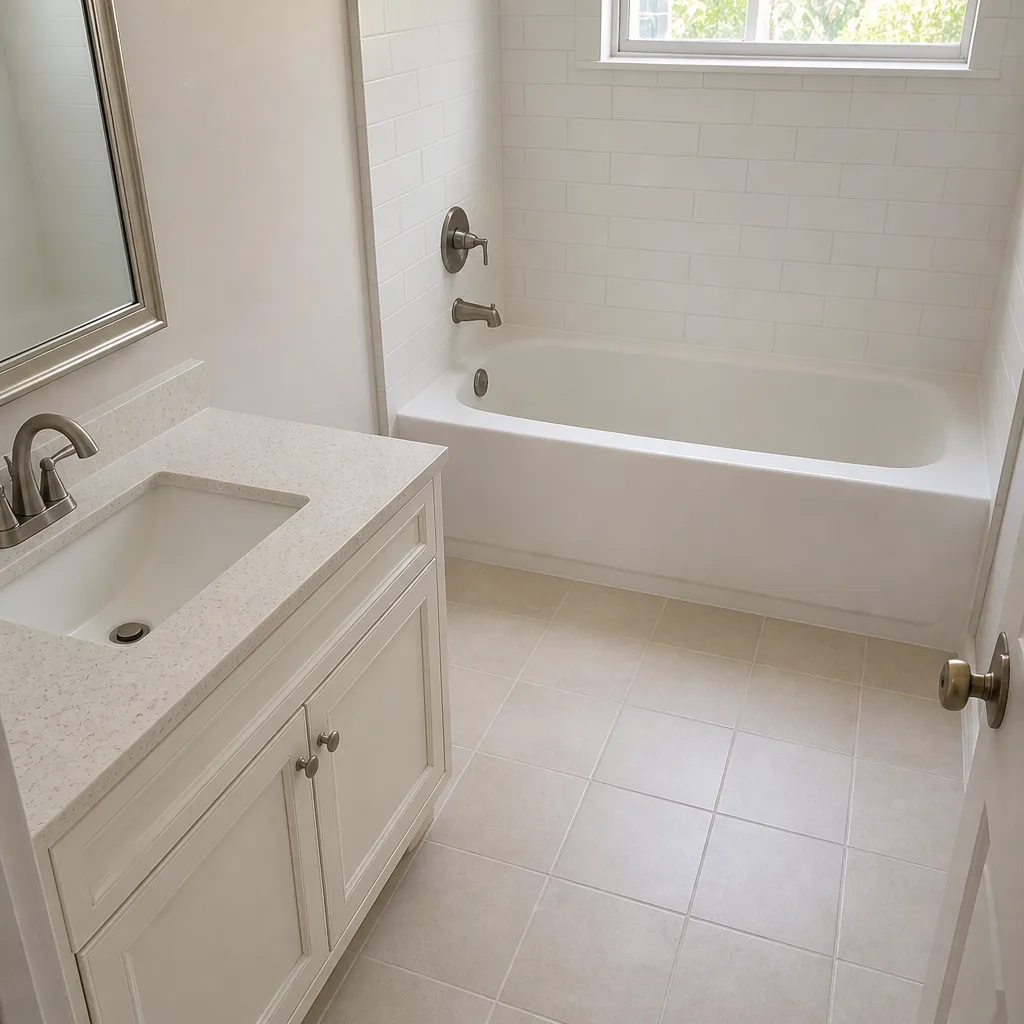 After
When to Call a Professional
Some paver problems are genuinely beyond a homeowner’s toolkit, and calling early saves money. Call a professional if you see:
- Multiple pavers rocking or sitting visibly lower than their neighbors
- An edge row that has separated from the field by more than an inch
- A puddle that doesn’t drain within a day
- Efflorescence that keeps returning after treatment
- Joint sand that won’t stay in place after a top-off
- Any damage you suspect is tied to ground movement
Each of these points to a base or restraint issue, and fixing it means lifting pavers and rebuilding the layer underneath – work that requires proper compaction and materials. Construction Santa Clara offers free estimates in Santa Clara. Call (844) 435-8936. We answer 24/7. Fast dispatch from 7am to 7pm, Sunday through Friday.
Frequently Asked Questions
Every two to four years with a penetrating sealer, or every one to two years with a topical sealer. Santa Clara’s strong summer sun breaks sealers down faster than in cooler climates, so watch for a chalky or faded surface as your cue that it’s time. Call (844) 435-8936 for a free estimate if you’d like a professional assessment.
Irrigation overspray is the number one cause, followed by a failing edge restraint. Water softens the base at the edge, and the pavers slowly migrate outward. Redirect every sprinkler head away from the pavers and inspect the restraint – if it’s loose or broken, that’s a contractor repair. Call (844) 435-8936 for a free estimate.
Yes, but only at low pressure – below about 1,500 PSI – with a wide nozzle, and never with the wand held close to the joints. High pressure strips the joint sand and etches the paver surface. Skip pressure washing entirely on travertine. Call (844) 435-8936 if you’d rather have it done correctly.
In late September or early October, before the first significant rain. That’s when dry-season soil contraction has finished and the joint gaps are widest. Filling joints now locks the pavers in place before the wet season. Call (844) 435-8936 for a free estimate if you’d like it checked.
Not on its own. Weeds grow in joints when the polymeric sand barrier has broken down. Keeping joints full and re-topping annually is the real answer. A sealer helps by limiting surface moisture, but it isn’t a weed barrier. Call (844) 435-8936 if the weeds keep coming back.
Well past 25 years with California-appropriate maintenance: annual joint top-offs, irrigation kept off the pavers, sealing every two to four years, and prompt repair of any settled areas. The pavers themselves rarely fail – it’s the joints and edges that determine lifespan. Call (844) 435-8936 for a free estimate on any repair.
The Bottom Line
Santa Clara’s dry-season soil contraction, irrigation overspray, and seismic ground movement are the three things that actually shorten paver driveway life here. Generic maintenance advice built for other climates misses all three. The fix is a simple seasonal calendar: inspect joints in late September and top them off before the rains, keep every sprinkler head off the pavers year-round, seal with the right product for your material every two to four years, and repair any edge or base movement the moment it appears. The paver brands we install – Belgard, Unilock, Techo-Bloc, Cambridge – are built to handle this climate. What determines whether yours last a decade or a quarter-century is how you maintain them. If you’d like a professional walk-through of your driveway, call (844) 435-8936. Estimates are free.
Written by the team at Construction Santa Clara.